Current Temperature
29.6°C

Poll
Do you support the Liberal government’s critical infrastructure agenda?
- YES (61%, 11 Votes)
- NO (39%, 7 Votes)
Total Voters: 18
Recent News →
- Dinosaur Provincial Park Is Hiding Fossils, Hoodoos, and Views You Won’t Believe Are Real
- ICYMI:Seven Jaw-Dropping Alberta Glaciers You Need To See For Yourself This Summer
- This Lakeside Campground Might Be the Most Relaxing Spot in Southern Alberta
- Lethbridge’s Best-Kept Nature Secret Is Hiding in Plain Sight—And It’s Wildly Beautiful
- Cameron Lake Looks Too Perfect to Be Real—But It’s Just a Drive Away!
Recent Blog Posts →
Bread basics: how to cultivate your own sourdough starter
Posted on October 27, 2021 by Taber Times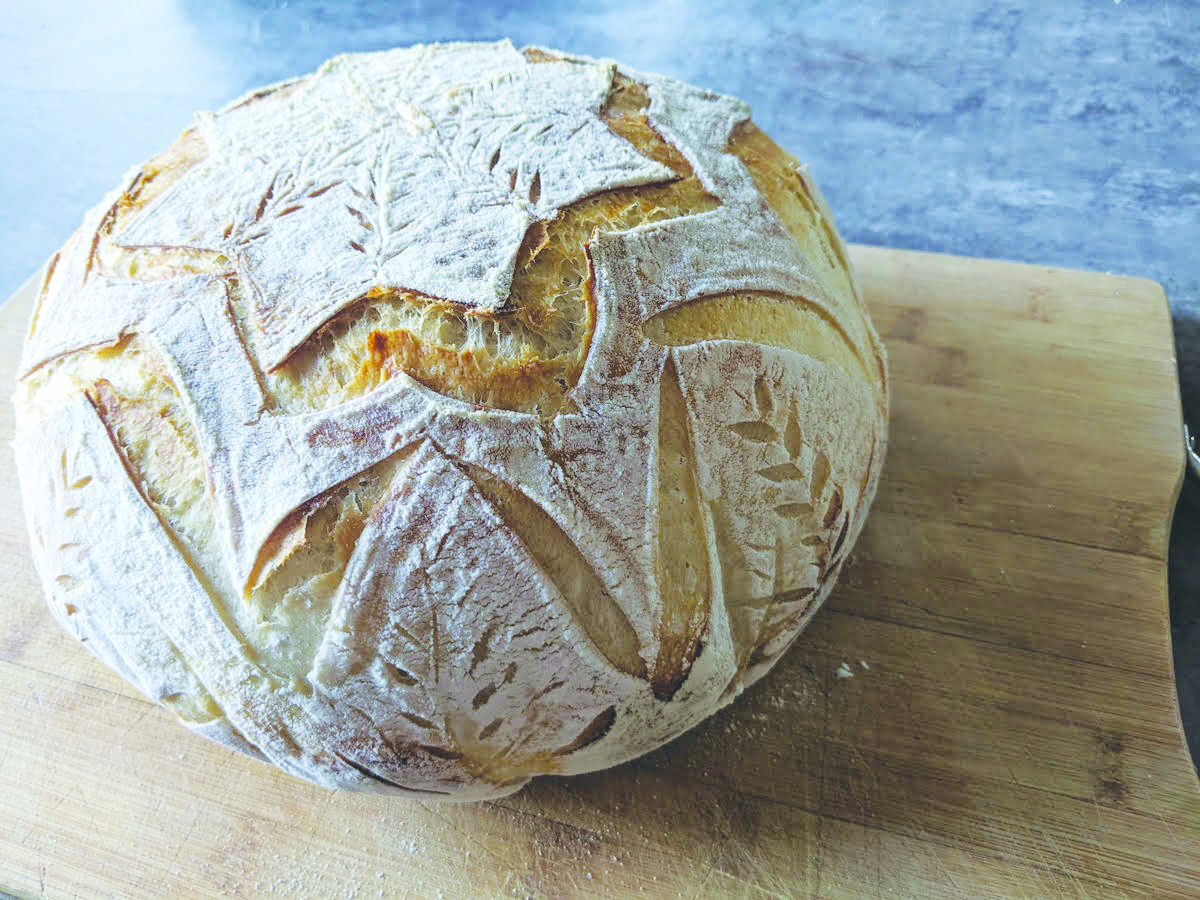 A scored loaf of bread using sourdough starter from Erika's home kitchen
By Erika Mathieu
Taber Times
There are very few things more comforting than a fresh loaf of homemade bread. In the coming weeks, I will take you through some essential bread-baking tips and recipes. I spent seven years working in a bakery, in addition to being a hobbyist baker, and there is a specific feeling of pride and accomplishment that comes from making bread at home.
In March 2020, grocers became overwhelmed with the sudden demand for baking supplies, as many people became suddenly out-of-work with a lot of time on their hands. Many people tried their hand at sourdough starter, and commercial yeast suddenly became a hot commodity. As an avid home baker, my mom in B.C. mailed me a small envelop full of conventional yeast, and I felt like I was receiving crucial correspondence from Interpol. With baking supplies in short supply, my inter-provincial yeast hookup felt a bit like I was aiding and a-breading in some terrible yeast conspiracy, since most people I knew were clamouring to get their hands on some.
This temporary shortage of supplies at the start of the pandemic was a catalyst for a lot of funky-counter top business, including my own fermentation station where kimchi, sauerkraut, and vinegars became kitchen mainstays. The pandemic also inspired me to re-start my own sourdough starter, something I had previously let perish in my refrigerator years before, due to sheer negligence. Sourdough starter is basically a home-grown yeast used to leaven bread without the use of commercial yeast.
Baking with a sourdough starter gives your bread an airier crumb, a more pronounced slightly sour flavour, and an old-world feel.
If you are interested in tending to your own sourdough starter, this article will lead you through the basics to get you started. Bread making can be complex and nuanced, and there is a lot of room for experimenting once you get the hang of the process. I’ve spent the last few years perfecting my own process, so it’s the yeast I could do!
To begin you should have a glass jar with a sealing lid, all-purpose flour, filtered or bottled water — a kitchen scale is also helpful for this process.
Instructions
On the first day, combine 50 grams of all-purpose flour and 50 grams of filtered water. Measuring by weight rather than volume gives you a more consistent result when baking in general. Once your flour and water has been mixed into a thick paste, cover your jar and store in a warm (but not hot) area of your kitchen for 24 hours. If you find your kitchen is a bit cool, a good trick is to turn your oven light on to keep a warmer ambient temperature, since cooler temperatures are not conductive to flourishing yeast. On day two, usually some bubbles have begun to appear because of a process known as autolyzing. Now, discard half of your starter, this step reduces the volume and allows for the proper proportion or starter to “feed”. A general rule of feeding your starter is to always discard half the starter and replace with 50 grams of flour and 50 grams of filtered water and set aside for another 24 hours.
Each day, you will probably find a more prominent sour aroma, this signifies you are cultivating the good bacteria necessary for baking. On day three, discard half of your starter and replace with another 50 grams of flour and 50 grams of filtered water. Set and cover for 24 hours. Follow the same process for days four and five, discarding half each day, and feeding 50 grams each of water and flour.
Toward the end of this process, you will notice your starter is more voluminous. The bubbles and additional volume indicate a lively starter. For Best results, feed one to two times per week, each time discarding and feeding as you did through the first five days. Store the jar in your refrigerator long-term, making sure to feed it in a timely manner. In the coming weeks I will detail my process for incorporating the starter into a loaf of sourdough bread.
Leave a Reply
You must be logged in to post a comment.